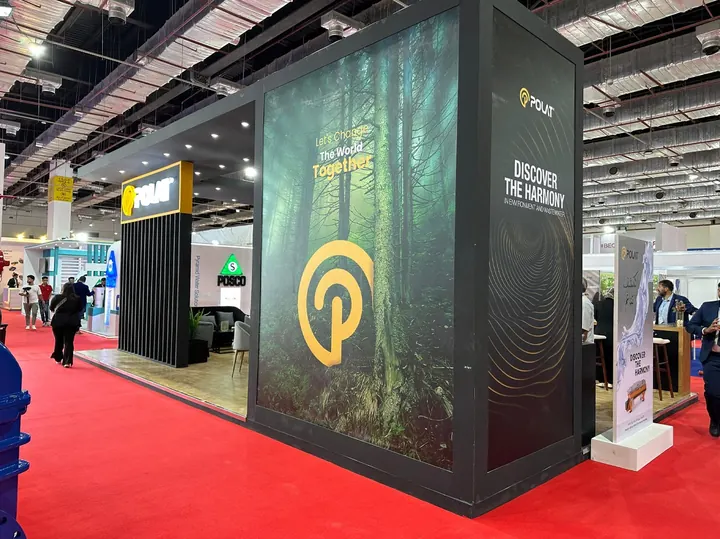
Start with the plot
The organiser assigns plots on the floor plan, and each one has a number of open sides facing aisles. The rest of the sides back onto neighbouring stands or hall walls. Open sides decide how visitors see and reach you, so they matter as much as the size.
Before you design, check the floor plan for aisle widths, nearby entrances and what is next to you, and read the organiser’s exhibitor manual for height limits and rules on closed walls facing aisles.
Row (inline) stand: one open side
A row stand sits in a line of stands with neighbours on both sides and a wall at the back, open only to the front aisle.
- Pros: usually the simplest and most economical format; the back wall gives a large surface for branding.
- Cons: visible from one direction only, and easy to walk past.
- Choose it for: first-time exhibitors, smaller budgets and product displays that work against a wall.
- Design tips: put the logo high on the back wall so it is seen from down the aisle, keep the front open and uncluttered, and place a screen or key product at eye level facing the aisle. Avoid a counter that blocks the whole front.
Corner stand: two open sides
A corner stand sits at the end of a row, open to two aisles that meet at the corner.
- Pros: seen from two directions and catches traffic from both aisles.
- Cons: fewer walls for display and storage than a row stand.
- Choose it for: brands that want more visibility without the cost of a larger island.
- Design tips: put the strongest visual on the corner itself, where both aisles meet. Use the two closed sides for the logo wall, storage and screens, and keep both open sides inviting.
Peninsula and island stands
A peninsula stand is open on three sides, with one side backing onto another stand. An island stand is open on all four sides, with aisles all around it.
- Peninsula pros: strong visibility, a solid back wall for branding, and room for meeting areas.
- Island pros: the highest visibility on the floor and complete freedom of layout; visitors can enter from any side.
- Cons: larger plots, more surfaces to finish and more to plan. Island stands have no back wall, so storage and meeting rooms must be built into the centre.
- Choose them for: launches, larger teams, brands that want to lead their sector at the show.
- Design tips: on a peninsula, use the back wall for the main logo and screen. On an island, use a central core for storage and meetings, and hanging or raised branding visible from every direction where the organiser allows it. Plan several entrances and avoid closing any side with long walls.
Custom, modular or double-deck
Once you know the shape, choose how the stand is built:
- Custom: built in timber and finishes to your design. Full freedom of shape, materials and detail; takes more design and workshop time. Best when the stand is a central part of your brand at the show.
- Modular: reusable frames and panels with custom graphics and finishes. Faster to build and easier to reuse across shows and plot sizes, with some limits on shape. Best for regular exhibitors and tighter timelines.
- Double-deck: a stand with an upper floor for meetings or hospitality. Adds space without a larger plot, but needs structural design, organiser approval and longer build-up. Best for large island or peninsula plots with heavy meeting schedules.
Many stands mix approaches, for example a modular base with a custom reception counter and logo wall. Our cost guide explains how each choice affects the budget.
Details that work on every type
- Logo: high and unobstructed, visible from the aisle above people’s heads.
- Screens: at eye level facing the main traffic flow, with content that works without sound. See lighting, sound and LED screens.
- Graphics: one clear message per wall rather than many small ones. More on printing and acrylic.
- Entrances: open and free of steps where possible; raised floors need a ramp or a gentle edge.
- Storage: a small lockable store keeps stock and bags out of sight.
- Lighting: light the products and the logo, not only the ceiling.
See your stand before you build it
The easiest way to choose is to see the options on your actual plot. Design it in 3D with our free stand planner: set the size and open sides, place walls, screens and furniture, and send the result with your quote request. Or book a consultation call and we will suggest the best format for your goals.
We design and build all stand types as part of our exhibition stands service, for shows in Riyadh and across the Kingdom. Planning ahead? Our exhibition checklist covers what to do from 90 days out.